While researching component documentation for a project, I stumbled upon this cute little dude.
He lives in a library called React Kawaii. It's a library of customizable SVGs that aim to set the mood in your React application.
One brilliant use case for this is 404 pages. I figured this was a good opportunity to experiment with global 404 pages in Next.js. After we understand 404 pages, we'll add a touch of flair using react-kawaii.
Adding Global 404 Pages to Next.js
The team at Vercel has been gradually enhancing the features of Next 13. They've made concerted efforts to improve the 404 experience. The latest development is not-found.tsx. It's capable of handling 404 pages for specific routes or for your entire application.
The example from the official documentation fits my case perfectly as it already redirects back to the blog page.
To get started, create /app/not-found.tsx and add the following code:
import Link from 'next/link'

export default function NotFound() {
  return (
    <div>
      <h2>Not Found</h2>
      <p>Could not find requested resource</p>
      <p>
        View <Link href="/blog">all posts</Link>
      </p>
    </div>
  )
}
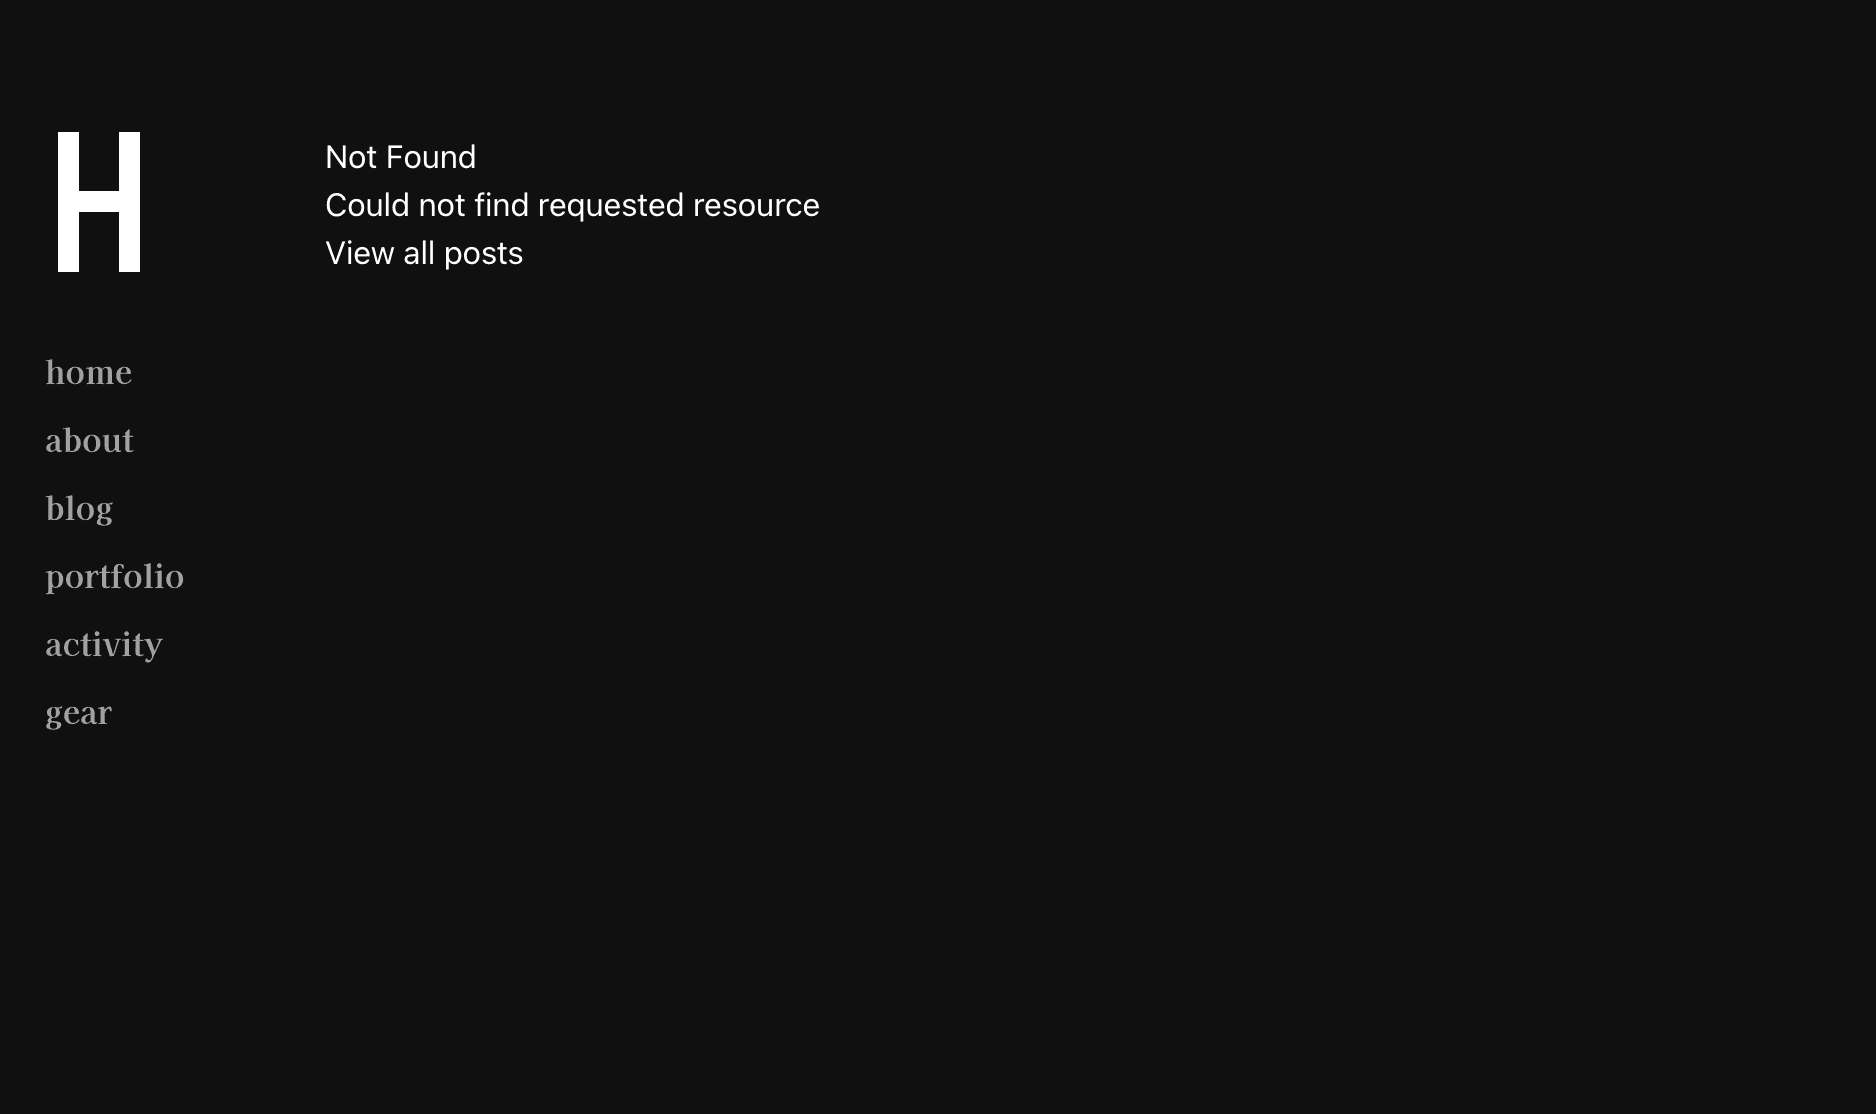
Now, after visiting a page that doesn't exist I should get a 404 page.

Decent, but not very exciting. Let's add some personality.
Adding React Kawaii to the 404 Page
The first step is to install the library.
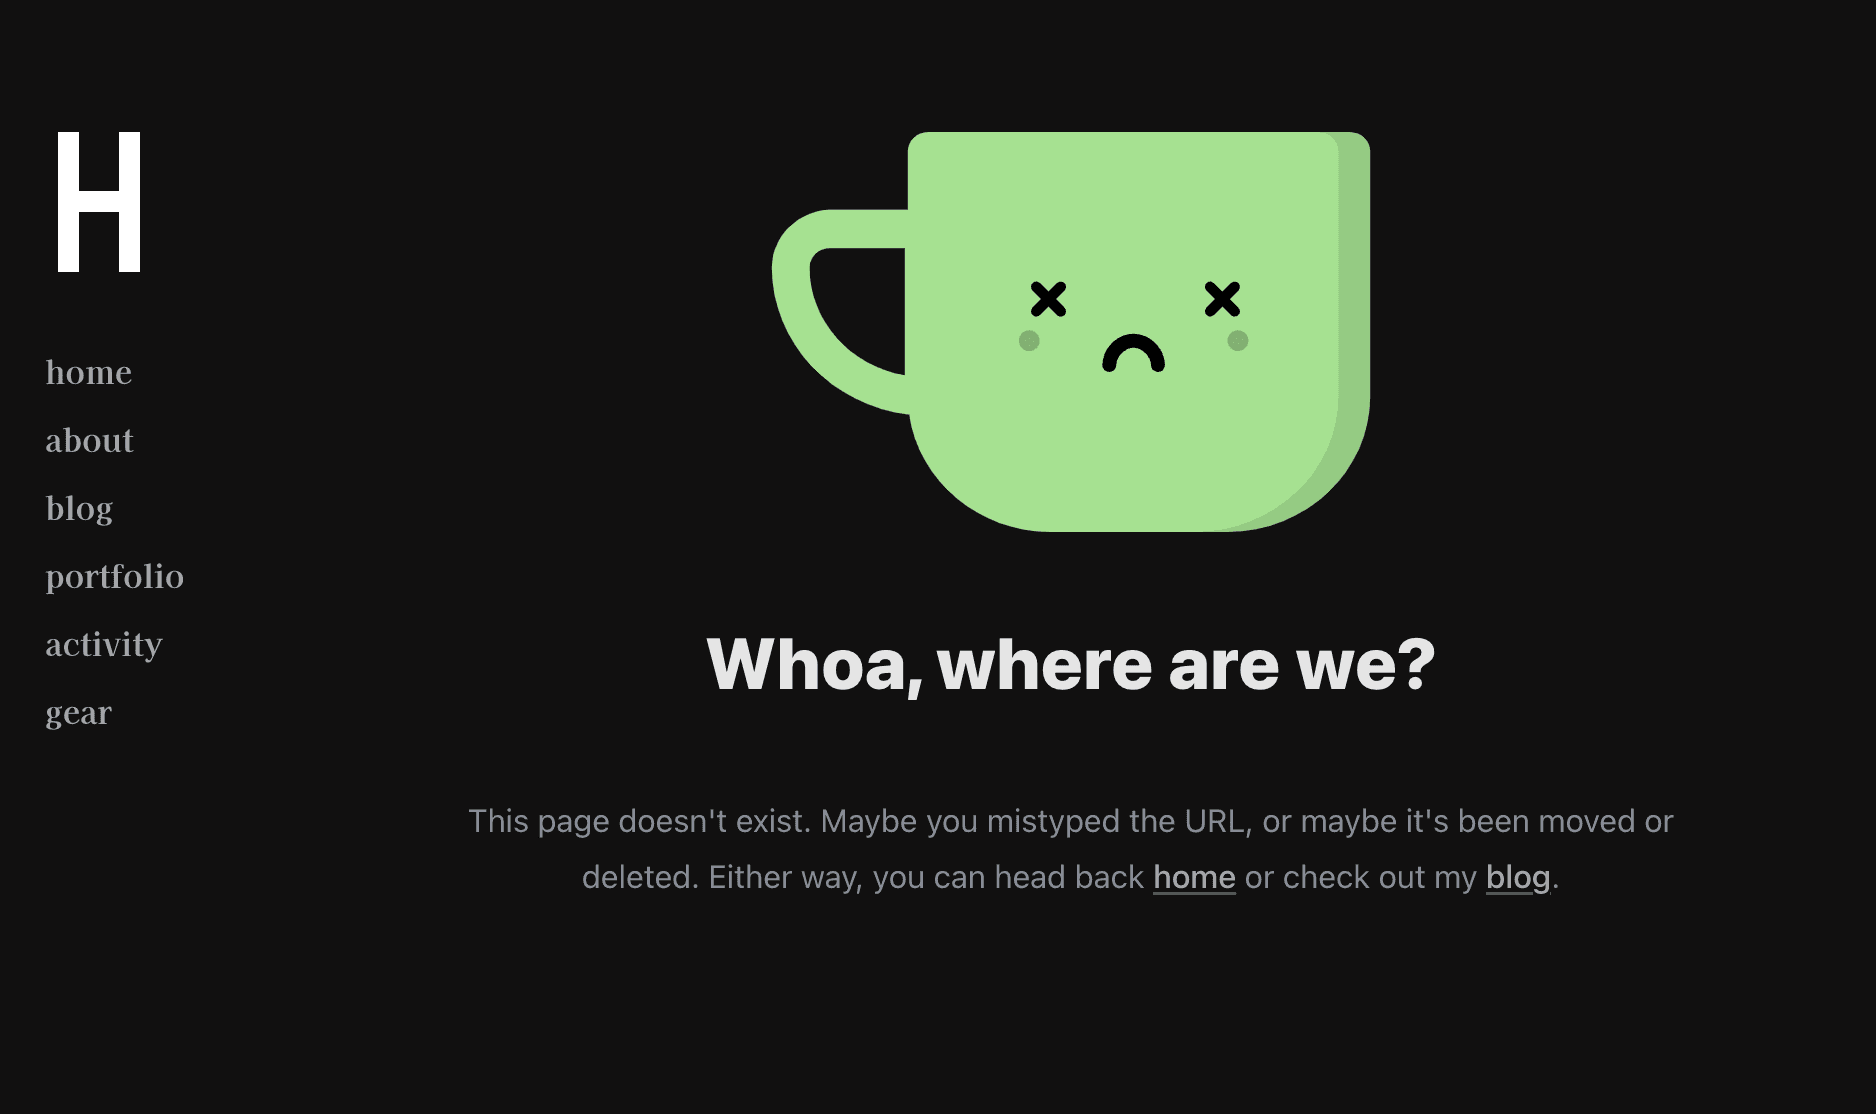
yarn add react-kawaiiNow let's add our adorable little character to the page. I'll use the Mug character as it's the one I saw in the documentation.
import { Mug } from 'react-kawaii';
import Link from 'next/link';


export default function notFound() {

  return (
    <div className="mx-auto">
      <Mug
        className="flex place-content-center"
        size={200}
        mood="ko"
      />
      <div className="mx-auto m-8 text-center prose">
        <h1>Whoa, where are we?</h1>{" "}
        <p>
          {`This page doesn't exist. Maybe you mistyped the URL, or maybe it's been moved or deleted. Either way, you can head back `}
          <Link href="/">home</Link>
          {` or check out my `}
          <Link href="/blog">blog</Link>.
        </p>
      </div>
    </div>
  )
}
That's much better. With a bit of Tailwind and prose styling, we have something I'm proud to showcase.
Extra Credit
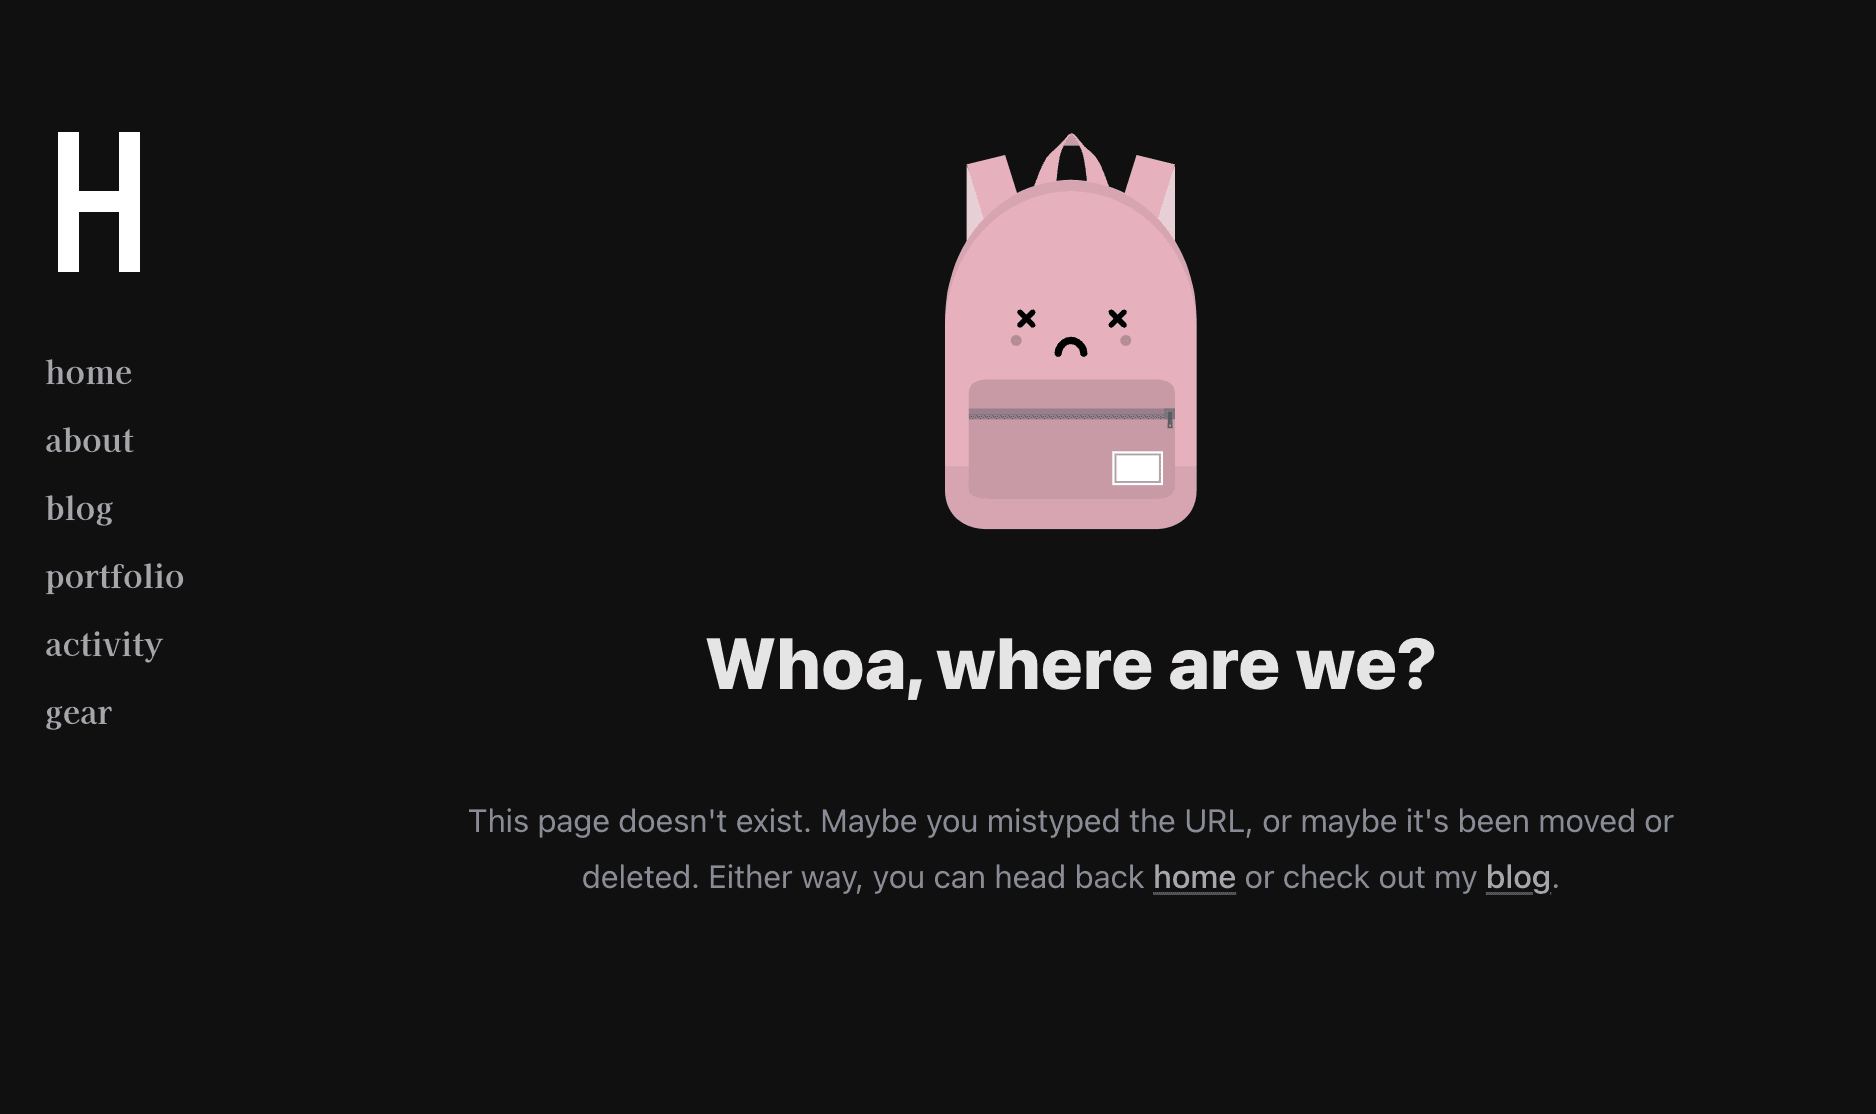
I quite like this, but it only displays the mug character in a single color. We can certainly do better than that.
Let's add a dash of logic to the page.
- Randomly select a character from a preset list.
- Randomly pick a color for the chosen character.
To pull this off, I import most of the characters from react-kawaii. Some of them don't quite fit a 404 page, so I left those out. I also modified the props for the character to accept a 'className' for styling.
To give our character a random color, I found a handy function on StackOverflow that generates a random color with a minimum brightness.
import { Mug, Browser, Ghost, File, Backpack, Planet, Folder, type KawaiiProps } from 'react-kawaii';
import Link from 'next/link';

// Adds className to Character component
interface ExtendedKawaiiProps extends KawaiiProps {
  className?: string
}

export default function notFound() {
  // Randomly choose a Kawaii character
  const characters = [Mug, Browser, Ghost, File, Backpack, Planet, Folder]
  const Character: React.ComponentType<ExtendedKawaiiProps> = characters[Math.floor(Math.random() * characters.length)]

  // Random color function with minimum brightness from https://stackoverflow.com/a/17373688
  function randomColor(brightness) {
    function randomChannel(brightness) {
      var r = 255 - brightness
      var n = 0 | (Math.random() * r + brightness)
      var s = n.toString(16)
      return s.length == 1 ? "0" + s : s
    }
    return (
      "#" +
      randomChannel(brightness) +
      randomChannel(brightness) +
      randomChannel(brightness)
    )
  }

  return (
    <div className="mx-auto">
      <Character
        className="flex place-content-center"
        size={200}
        mood="ko"
        color={randomColor(100)}
      />
      <div className="mx-auto m-8 text-center prose">
        <h1>Whoa, where are we?</h1>{" "}
        <p>
          {`This page doesn't exist. Maybe you mistyped the URL, or maybe it's been moved or deleted. Either way, you can head back `}
          <Link href="/">home</Link>
          {` or check out my `}
          <Link href="/blog">blog</Link>.
        </p>
      </div>
    </div>
  )
}
React-Kawaii in MDX
To place the cat at the top of this blog post, I created an MDX component for react-kawaii.
import * as ReactKawaii from "react-kawaii"

interface ExtendedKawaiiProps extends ReactKawaii.KawaiiProps {
  className?: string | undefined,
  character?: string | undefined,
  centered?: boolean | undefined,
}

function Kawaii({ character = "Cat", size, mood = "blissful", color, className = "", centered = false }: ExtendedKawaiiProps) {
  // Adds className to Character component

  // Centers character with 'mx-auto' class or centered prop
  className = className.includes("mx-auto") || centered ? `${className} flex place-content-center` : className
  const Character: React.ComponentType<ExtendedKawaiiProps> = ReactKawaii[character]

  return (
    <Character size={size} mood={mood} color={color} className={className} />
  )
}
Now I can use this component in my blog posts.
// Default cat example
<Kawaii />

// centered
<Kawaii centered />

// Different character and expression
<Kawaii character="Ghost" mood="happy" />

// All props
<Kawaii character="Ghost" mood="happy" size={200} color="grey" className="bg-indigo-300	py-4" centered />
Gotchas
-
Your page may refresh every few seconds or go into an infinite loop. If you experience this, check out the threads below. I had success with updating
next,react, andreact-domto their latest versions. -
Infinite refreshes in development mode: Hot reload not working at latest version of Next.js #51162 [NEXT-1299] Not-found.js route refreshes every 3-4 seconds on development server #50585
Conclusion
This was a fun little project. I'm going to keep this one handy for future projects. react-kawaii is simple to use and adds a lot of personality to your application.